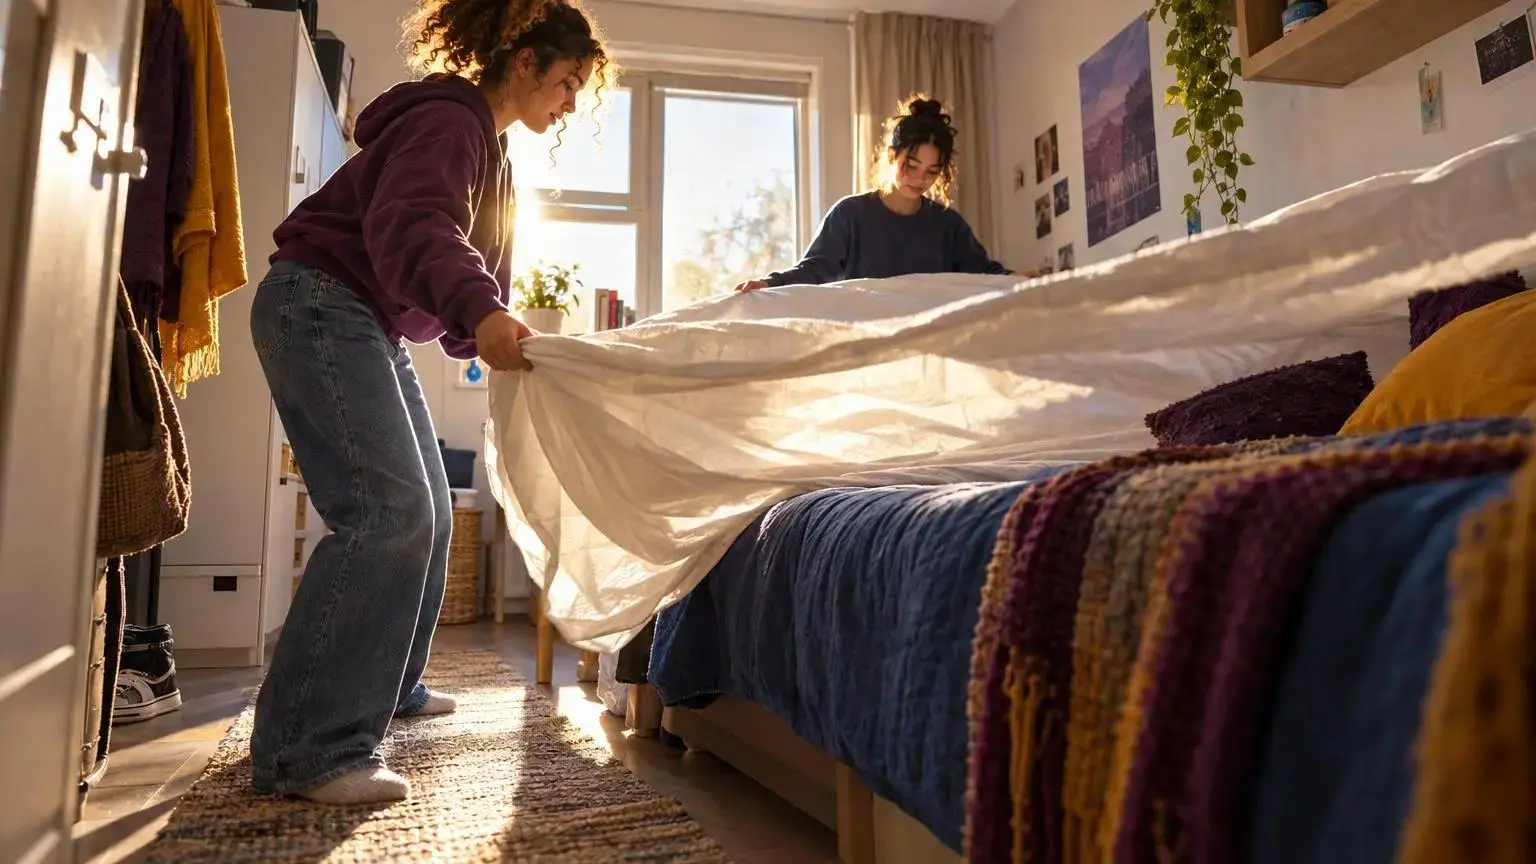
A small shelter bedroom layout has to work during an ordinary day, not just in a photograph. Residents need to sleep, reach their belongings, get dressed, and move through the room without negotiating a maze of furniture.
For women, children, and families staying in homeless shelters or crisis centers, those everyday details deserve careful attention. A bed, a usable route, and a place for personal belongings come before extra furniture.
These seven layout ideas offer starting points for conversations with residents and shelter staff. They are illustrative arrangements, not measured construction plans or a promise that one setup will suit every room.
What Makes a Small Shelter Bedroom Layout Work
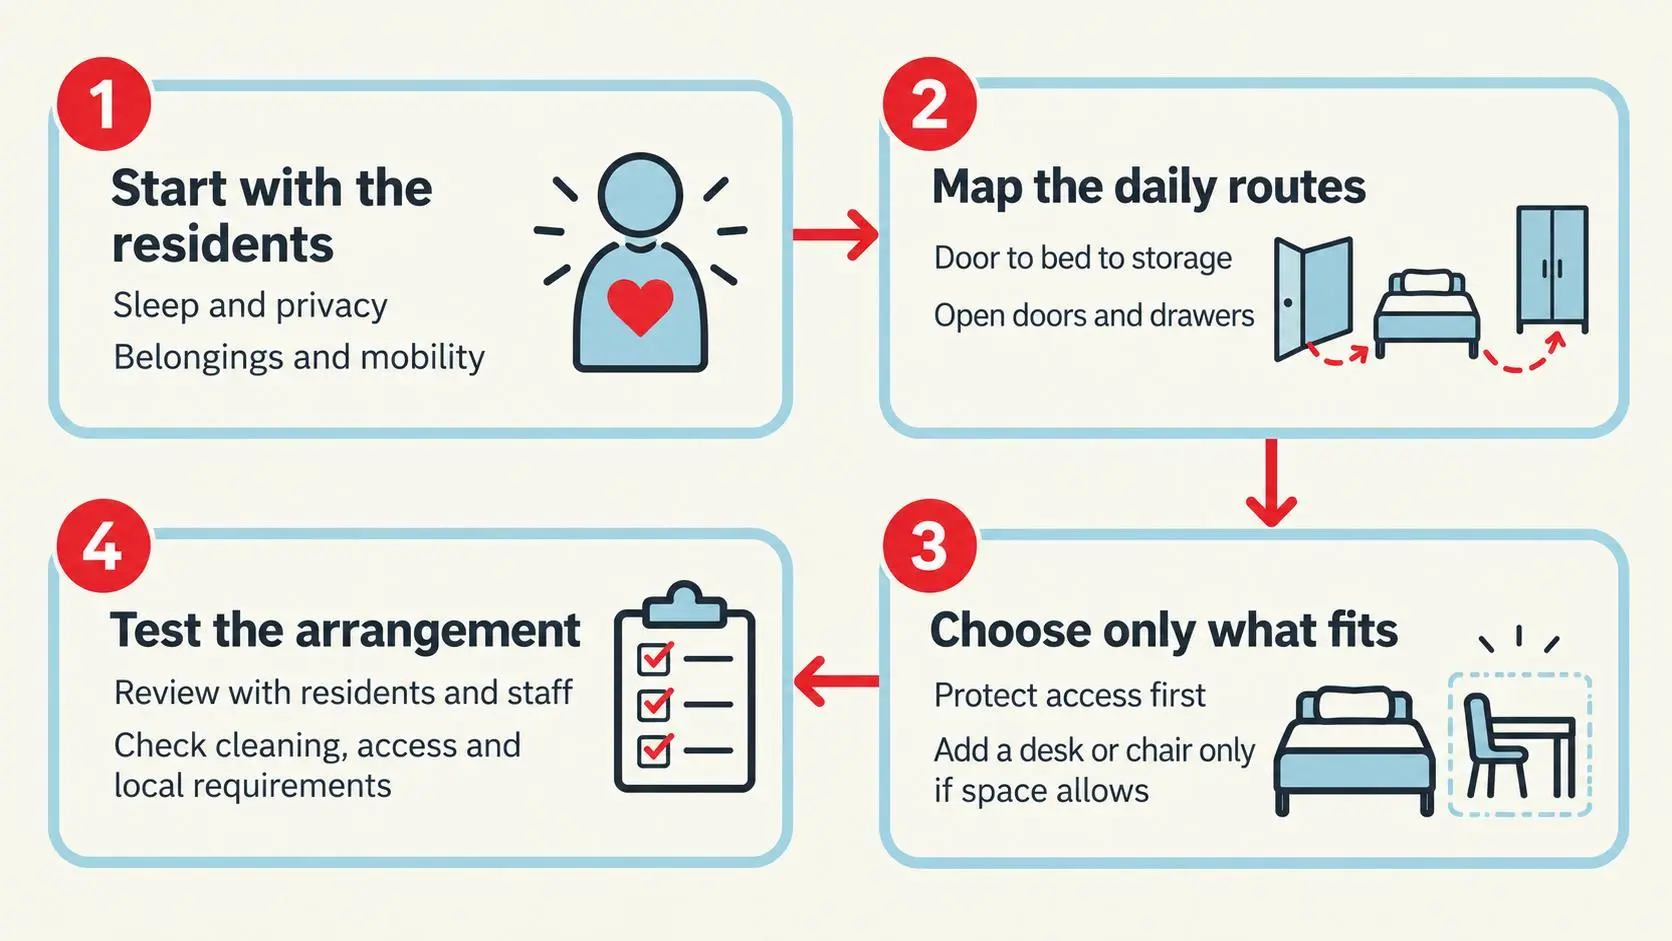
Start with the people who will use the room. How many residents are assigned to it? Does someone use a mobility aid? Is there room for changing bedding, opening storage, or helping a child get ready without blocking another person?
The research on trauma-informed supported housing supports taking privacy, personal control, and the lived experience of the environment seriously. It does not establish that a particular furniture arrangement will heal trauma. That distinction matters when turning design principles into practical choices.
Before moving furniture, mark the door swing, windows, heating and ventilation equipment, fixed storage, and the route into the room. Check the arrangement with doors and drawers open and with the chair pulled out. A route that exists only when everything is closed is not a reliable daily route.
Leave decisions about required clearances, occupancy, accessible use, fire protection, and emergency access to the shelter’s qualified design team and local authorities. A generic bedroom spacing rule is not a substitute for that review. The Canadian shelter guidance linked below offers useful design examples; it is not a statement of requirements for a U.S. shelter.
Our Trauma-Informed Design approach keeps safety, dignity, connection, and healing at the center of the conversation. The practical question is simple: what will this room ask of the person living in it?
1. Single Bed With Storage Near the Entrance
For a one-person room, try a layout that keeps the bed away from the door swing and places clothing storage near the entrance. The aim is to give arriving residents an understandable route to the bed and their belongings.
This does not mean putting a wardrobe beside every door. A shallow room may not have the wall length, and an open wardrobe door can obstruct the entrance. Compare the layout with storage on another wall before choosing it.
Use a simple walkthrough:
- Enter while carrying a bag.
- Reach the storage and open it fully.
- Walk to the bed without closing a drawer first.
- Check that staff can reach the resident when assistance is needed.
This arrangement is worth considering when scattered furniture makes the room feel difficult to use. Keeping fewer pieces may help more than buying smaller versions of every piece.
2. Corner Twin Bed With Desk and Wardrobe
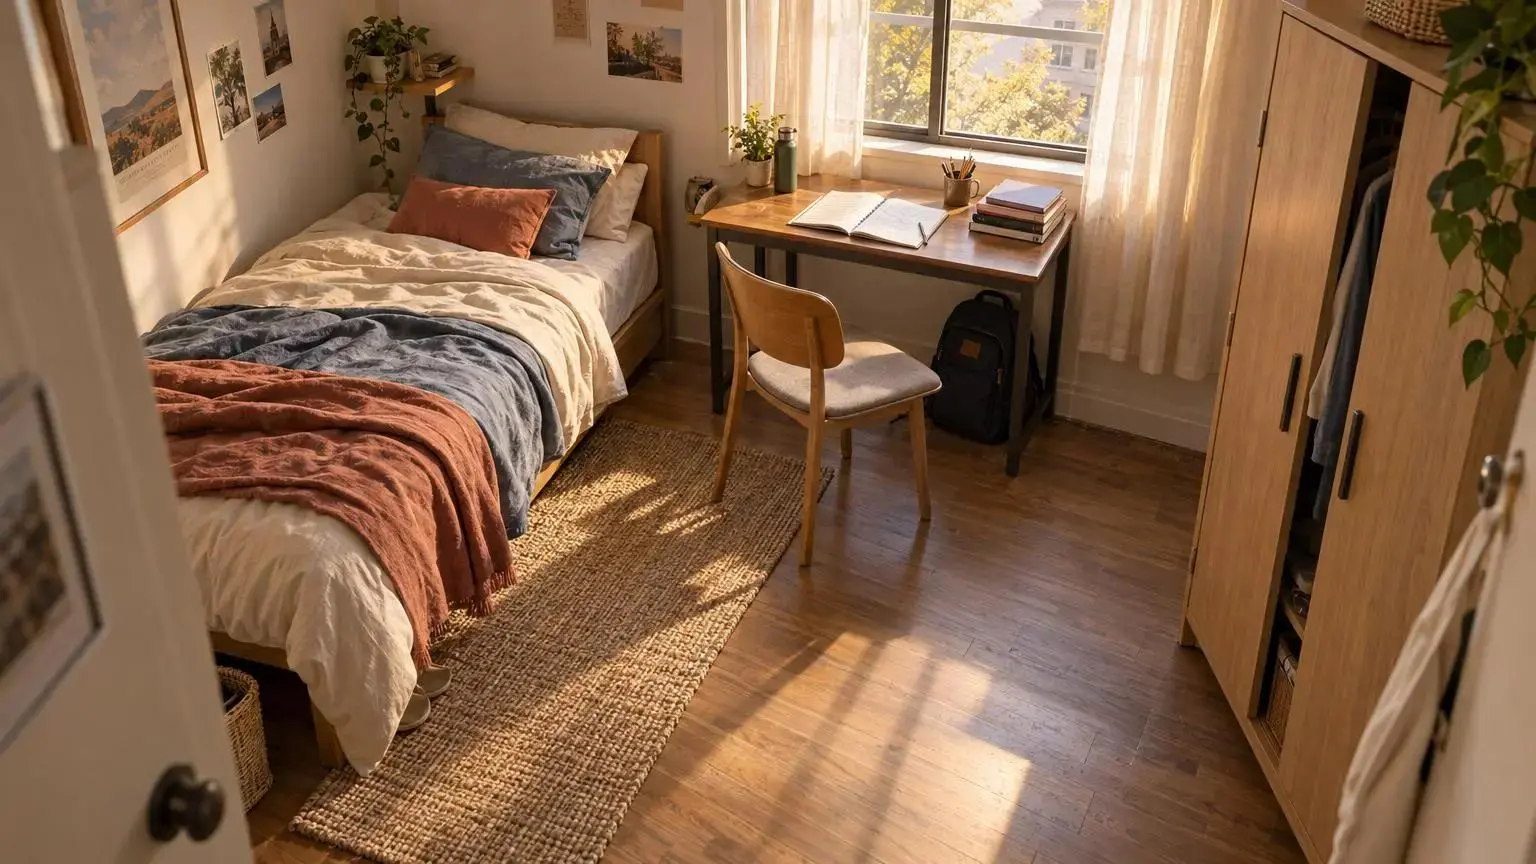
A corner-bed arrangement can leave a more continuous area for a small desk and clothing storage. It may suit a resident who needs a place for schoolwork, forms, or a laptop in the bedroom.
Place the desk where the chair can be used without blocking the main route. Keep the wardrobe’s opening space separate from the chair’s working space. Measure the actual furniture, including handles, drawers, and the chair when occupied.
The tradeoff is bed access. Putting a bed against a wall removes access from that side, so this is not a default choice for someone who needs bedside assistance or a particular transfer arrangement. A suitable desk does not compensate for an unsuitable bed position.
If the room cannot support both sleep and work comfortably, consider whether a shared study area can meet the work need. A bedroom does not have to contain every activity.
3. Two Beds With Separate Personal Zones
Where the shelter’s program permits a shared room, plan each resident’s bed and storage as an identifiable personal zone. One person’s everyday route should not depend on crossing the other’s bedside space.
The City of Toronto’s shelter design guidance recommends grouping a resident’s exclusive-use belongings in a contiguous area in shared sleeping rooms. Its examples show why bed and locker placement need to be considered together.
Sketch each resident’s route separately. Then test both people getting ready at the same time. A layout can look balanced while giving one resident the useful storage and the other an obstructed corner.
Keep furniture changes within the shelter’s approved occupancy and room-assignment policies. Adding another bed is a capacity decision, not a space-saving decorating tip. Privacy partitions also need design review so they do not compromise circulation, ventilation, or fire protection.
4. Family Room With Distinct Sleeping and Daytime Areas
A family bedroom may need to support different routines within the same room. Plan the sleeping locations first, then consider a contained daytime area for reading, quiet play, or getting dressed.
Use separate, age-appropriate sleeping arrangements consistent with the family’s needs and the shelter’s policies. Do not assume that a larger adult bed solves the sleeping needs of a parent and child. Infant sleep arrangements need their own appropriate equipment and safety review.
For the daytime area, a modest option is a clear floor area beside accessible toy storage. Keep it away from the entrance and the route between sleeping places. If that area would disappear under furniture, a nearby family common space may be more appropriate.
Toronto’s family shelter guidance distinguishes family sleeping accommodation from adult shared rooms. The useful lesson is to plan for the actual household rather than copy a generic bedroom setup.
5. Mobility-First Bedside Layout
For a resident who uses a wheelchair, walker, or other mobility aid, begin with access to the bed and essential belongings. Add optional furniture only after the resident and design team have established what usable access requires.
Bed position, approach direction, turning space, reachable storage, and a place for equipment can change the entire plan. Moving a bed into a corner to make room for a desk may work against the resident’s needs.
The U.S. Access Board’s accessibility standards distinguish requirements by facility and use. That is a reason to obtain a project-specific assessment, rather than label a room accessible because a single walkway measurement looks adequate.
Walk through the proposed arrangement with the resident where possible. Ask which belongings must be within reach and whether support is needed at the bedside. Check the route with equipment in its normal position, rather than temporarily moved out of the room for the inspection.
6. Storage-Led Layout With a Clear Floor Route
When bags and clothing occupy the walking area, assess storage capacity before adding more furniture. The problem may be insufficient storage, storage that is hard to reach, or a cupboard that cannot open when the bed is in use.
BC Housing’s shelter design guidance treats secure storage as a shelter planning need. Its sleeping-room guidance also considers personal storage alongside the bed.
A planning option is to group clothing and essential belongings along one wall, keeping the route to the bed clear. Under-bed storage may be useful where the resident can reach it and staff can clean around it. It should not become the only place for things someone cannot comfortably retrieve from floor level.
Avoid creating a storage solution that introduces a new access problem. Tall furniture, shelving, fixings, and anything above a sleeping area need appropriate selection and installation. More storage is useful only if people can use it.
7. Sleeping Area With a Small Reading Corner
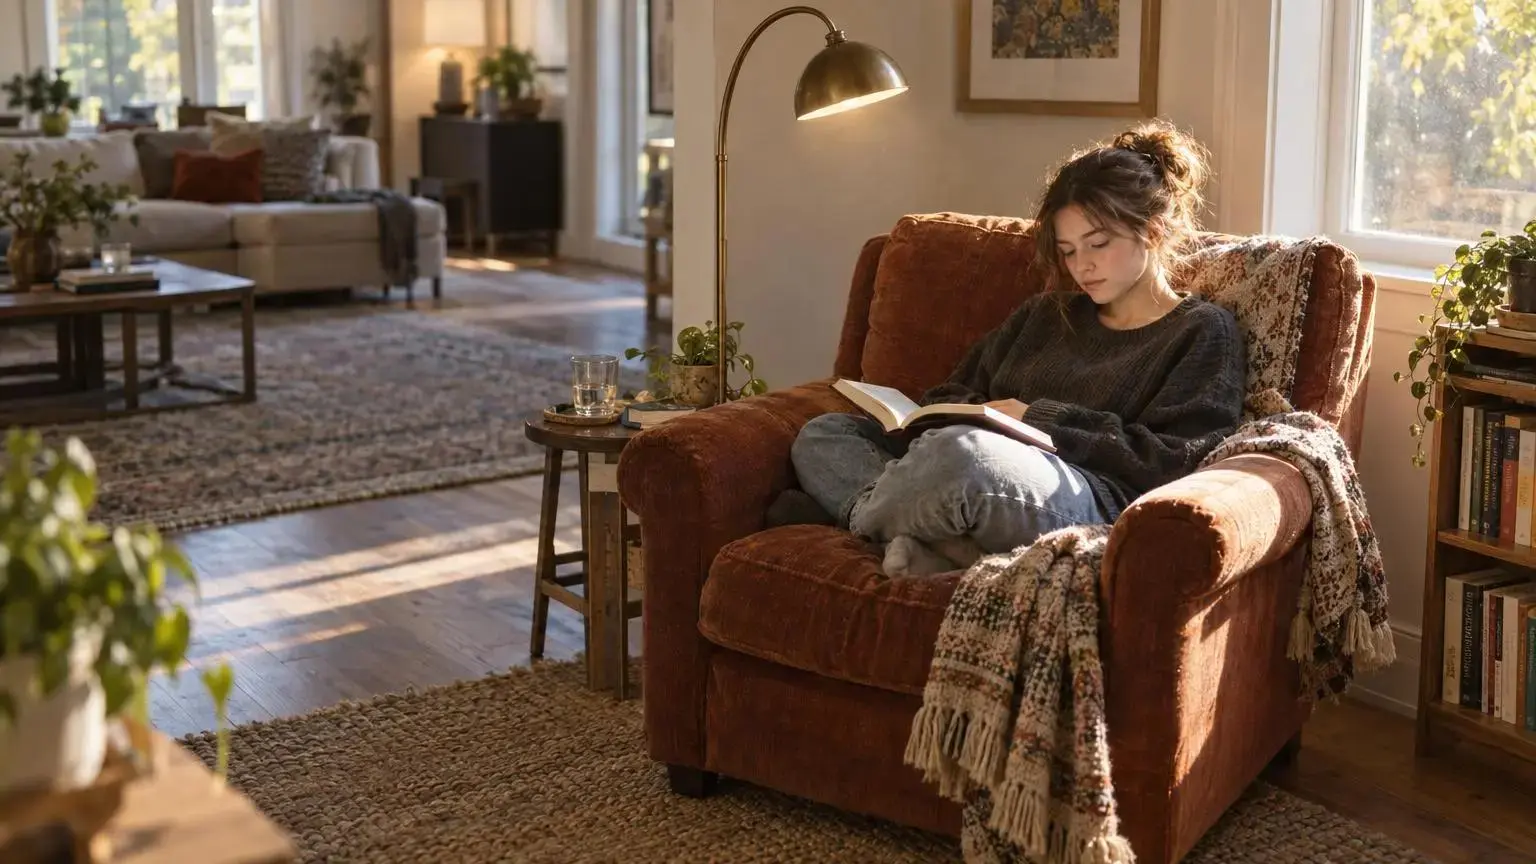
If the room has enough usable space after sleep, storage, and access needs are met, a chair and reading light can provide somewhere to sit apart from the bed. The chair belongs at the edge of the room, not in its main walking route.
Keep the setup modest. One comfortable seat and a small place for a book may be more practical than a second large storage unit. Check the lamp location, cords, cleaning access, and whether another resident would be disturbed by the light.
Research on the family shelter bedroom experience examined changes including reading lighting and storage as part of a small bedroom intervention. It is useful context for considering personal control; it does not prove that adding a reading chair produces a particular health outcome.
Our Room Makeovers work considers the room as a whole. Where there is no room for a chair, a nearby quiet common area may be the better answer.
How to Choose the Right Layout for Your Shelter Room
Choose the arrangement around the resident’s main need, then test its tradeoff. An entrance-side wardrobe might simplify arrival but obstruct a narrow door wall. A corner bed may create desk space but reduce bedside access. A reading chair may be welcome in one room and an obstacle in another.
Before settling on a plan:
- Confirm the intended residents, approved occupancy, and any individual access needs.
- Measure the room and the furniture that will actually be used.
- Map the routes to the bed, storage, door, and other essential points.
- Test doors, drawers, chair movement, cleaning, and staff assistance.
- Ask residents and staff what works, what feels exposed, and what is difficult to reach.
- Have the appropriate team check the proposed changes against local and facility requirements.
Treat the comparison below as a discussion aid, not a set of approved floor plans. Keep the simplest arrangement that meets the room’s job. Optional furniture should earn its place.
| Layout category | Best when | Example ideas | Key caution |
|---|---|---|---|
| Single Bed With Storage Near the Entrance | A one-person room with belongings scattered around the entrance. | Illustrative arrangement 1 | An open wardrobe must not obstruct the entrance or route to the bed. |
| Corner Twin Bed With Desk and Wardrobe | A resident needs bedroom workspace and the room can support bed and chair access. | Illustrative arrangement 2 | A corner bed removes access from one side; assess bedside assistance and transfers. |
| Two Beds With Separate Personal Zones | An approved shared room needs distinct bed-and-storage zones. | Illustrative arrangement 3 | Use approved occupancy and assignment policies; review partitions before installation. |
| Family Room With Distinct Sleeping and Daytime Areas | A family room needs both sleeping locations and a contained daytime area. | Illustrative arrangement 4 | Provide separate age-appropriate sleeping arrangements; assess infant sleep separately. |
| Mobility-First Bedside Layout | A resident needs a mobility aid, equipment, or a particular bedside approach. | Illustrative arrangement 5 | Establish individual access and equipment needs before adding optional furniture. |
| Storage-Led Layout With a Clear Floor Route | Bags or clothing occupy routes because storage is insufficient or difficult to use. | Illustrative arrangement 6 | Keep storage reachable and routes clear; review furniture fixings and cleaning access. |
| Sleeping Area With a Small Reading Corner | A resident would benefit from a separate seat and the room has space for it. | Illustrative arrangement 7 | Add seating only where space remains after sleep, storage, access, and cleaning needs. |
Conclusion
A useful small shelter bedroom layout supports sleep, personal belongings, privacy, and everyday movement. It starts with the people using the room and the constraints of the building.
Choose one room, trace its daily routes, and identify the most important obstacle before buying furniture.
If the challenge is a single bedroom, Room Makeovers may be the right conversation. If access, storage, lighting, and shared-space problems repeat across the building, Full Shelter Renovations can address the wider picture.