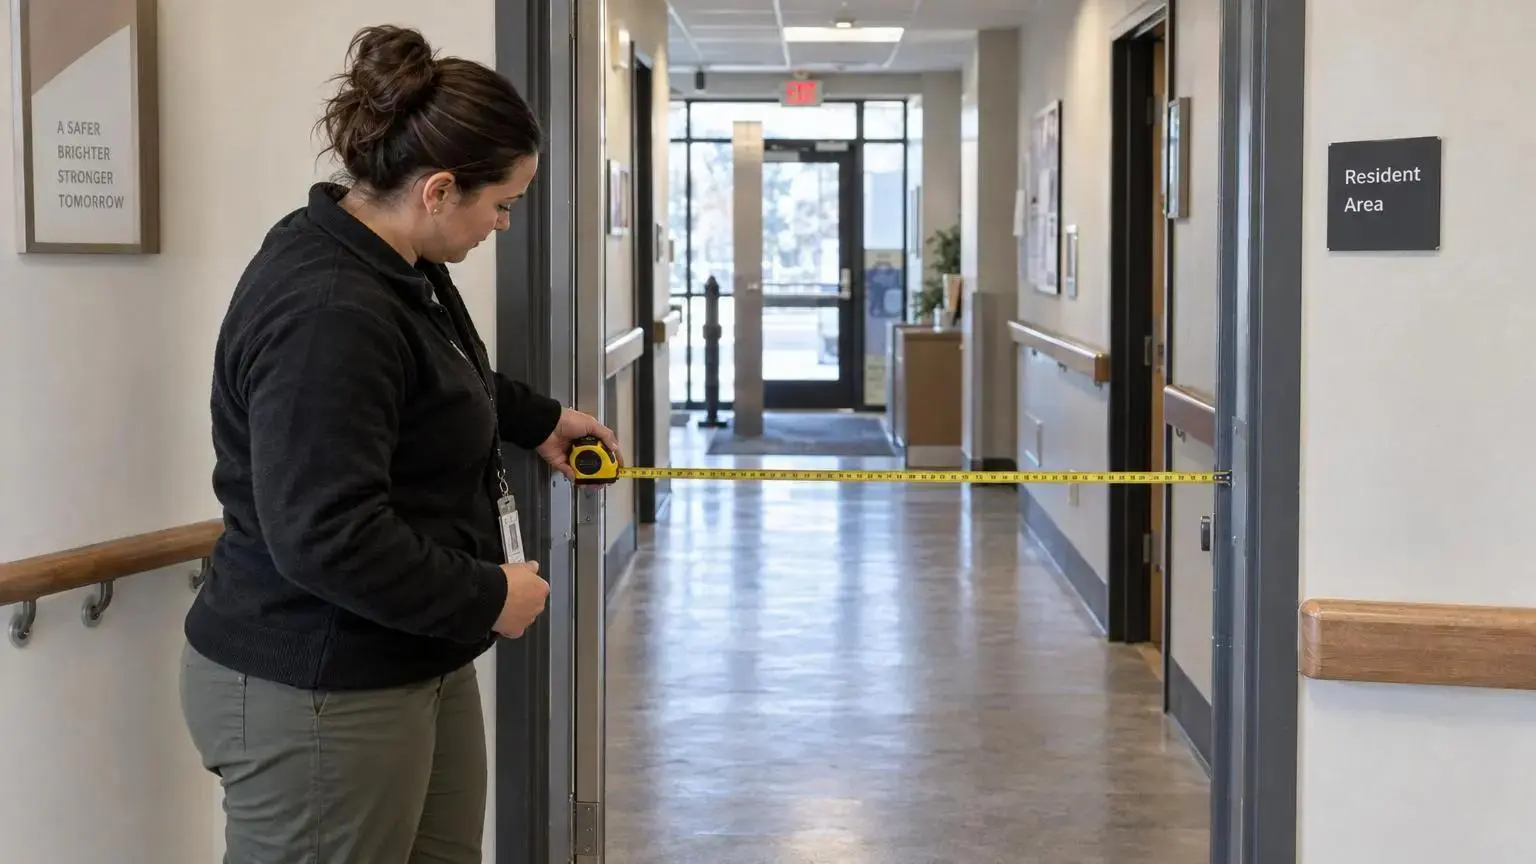
A facility walk-through checklist catches what a rushed inspection misses: the dim hallway by the bathroom, the bags piled beside beds, the door that never quite closes. For women, children, and families rebuilding after crisis, those details land hard.
Walk it like someone has to sleep there tonight. Check safety, yes—but also privacy, noise, light, storage, and whether people can move through the day without feeling exposed.
Small fixes can change the whole room.
1. Structural Soundness
Start here because nothing else matters if the building itself is unstable. A good facility walk through checklist begins with the plain question: can this building reliably protect the people inside it?
Walk the full shell of the property, not just the rooms you show donors. Look at roofs, ceilings, walls, floors, windows, doors, drainage, and exterior entries. Sagging ceiling tiles, soft spots underfoot, cracked walls, swollen trim, stuck windows, drafts at door frames, and signs of water intrusion all belong in your notes.
A few things to separate right away:
- Cosmetic issues: peeling paint, scuffed finishes, dated colors
- Foundational issues: roof leaks, structural cracking, rotten subfloor, failing windows, unsafe stairs
- Exterior risks: poor drainage, slick entries, missing cover at the entrance, deteriorated walkways
That distinction matters. Dignity issues still matter, but a child sleeping under a leak is not a paint problem.
In a trauma informed checklist for shelters, visible neglect lands harder than people realize. Residents read the building fast. If walls are stained, ceilings are patched badly, or the front entry floods every time it rains, the message is simple: no one is fully in charge here.
If you’re planning renovations, flag old fixtures and equipment that shouldn’t be replaced one for one. Sometimes the smarter move is not “new version of the same problem.” It’s the moment to shift to more efficient lighting, plumbing, or appliances while the wall is open anyway.
2. Accessible Entrances and Routes
Accessibility is not one doorway. It’s the whole trip.
Start at arrival. Look at drop-off areas, parking, sidewalks, curb cuts, ramps, handrails, walkway surfaces, and the main entrance. Then trace the route all the way to check-in, sleeping rooms, bathrooms, showers, dining spaces, medical rooms, and common areas.
When we assess circulation, we don’t ask only, “Can someone technically get through?” We ask whether the route works without stress, delay, or public struggle.
Watch for problems like:
- narrow hallways or sharp turns
- boxes, donation bins, carts, or furniture blocking paths
- counters that are too high at intake
- protruding objects in corridors
- bathroom routes that break down halfway through
- no power access where a resident may need to charge mobility or medical equipment
This matters in mixed-population shelters, especially with older adults, parents using strollers, people recovering from injury, and anyone whose anxiety rises when movement gets complicated. A route can meet minimum intent on paper and still fail in daily use.
The need is substantial: HUD estimated that about 138,000 adults age 55 and older experienced homelessness on a single night in 2023, according to a Government Accountability Office review. For a walk-through, that is a reason to test more than the front door: check whether beds, bathrooms, check-in, charging access, and everyday routes work for people with mobility limitations or other functional needs.
One operator truth here: the check-in desk tells you a lot. If arrival ends at a counter people can’t comfortably use, your accessible route just hit a wall at the worst possible moment.
3. Sleeping Space and Security
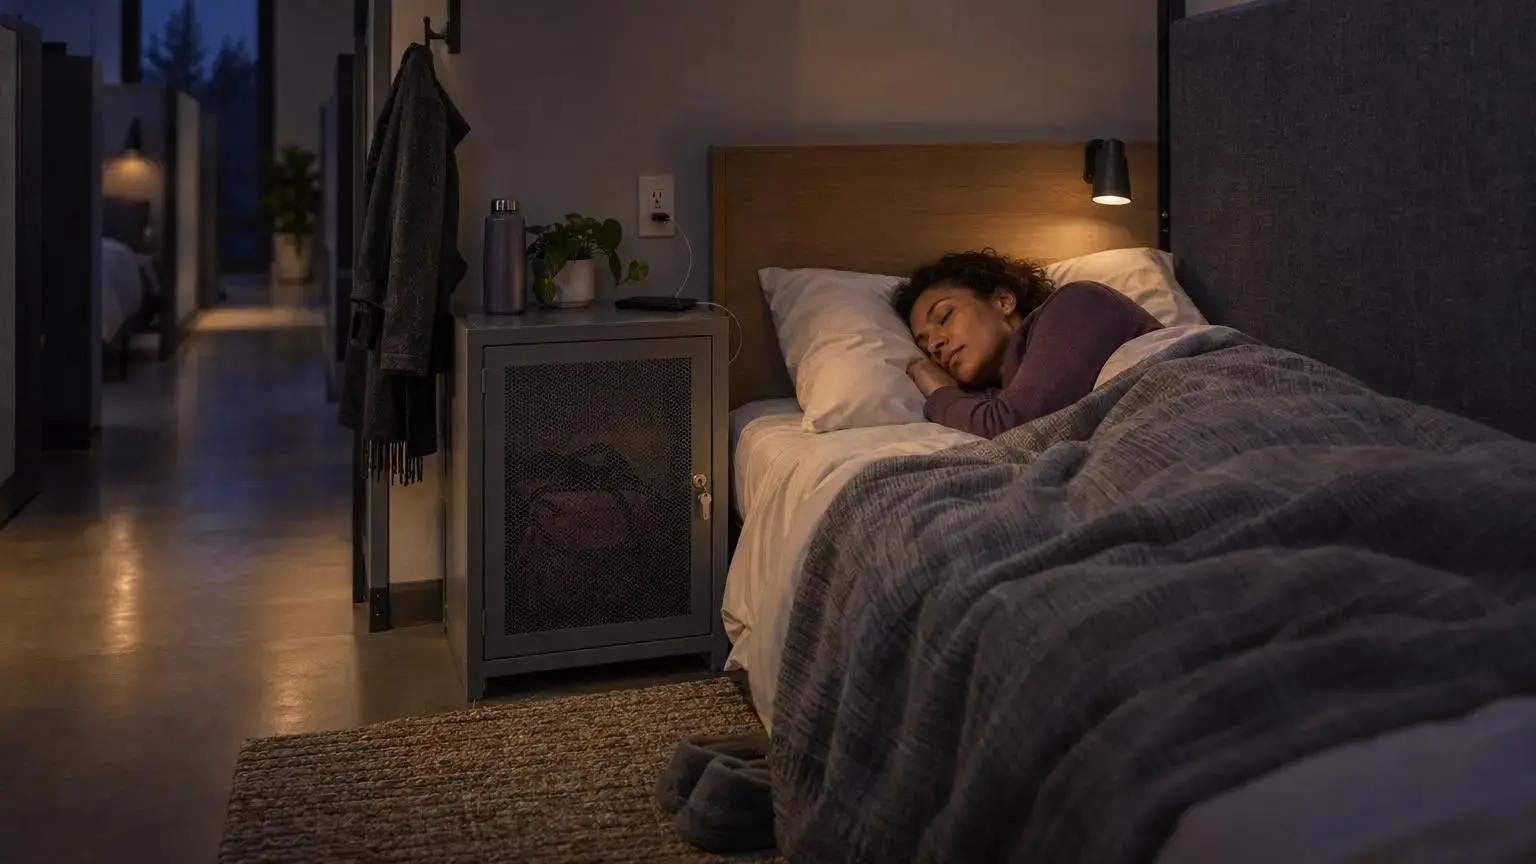
Sleep is where the building either helps the nervous system settle or keeps it on alert. That makes this one of the highest-value parts of any shelter redesign assessment.
Confirm that each resident has an acceptable place to sleep, enough space around it, and some way to feel secure with their belongings. Then look closer. Bed count is not the same as livability.
When assessing shelter rooms, pay attention to:
- spacing between beds
- sightlines to doors and staff traffic
- noise from hallways, bathrooms, or shared walls
- privacy for women, families, and children
- whether belongings are exposed overnight
- how often residents are interrupted by lighting, movement, or circulation
A room may technically hold six beds and still be doing damage every night. We’ve seen that gap often. Capacity targets push one direction. Rest pushes the other.
Dorm layouts don’t always need a full rebuild to improve. Partial dividers, better furniture placement, softer lighting, defined family zones, and secure bedside storage can change the tone of a room quickly. For shelters that need focused improvement first, this is often where room-level work can do the most good. That’s part of why our Room Makeovers stay tightly centered on sleep, privacy, function, and dignity inside the room itself.
If people can’t rest, everything else gets harder by morning.
4. Ventilation and Interior Air Quality
You usually smell this section before you see it.
Walk bedrooms, bathrooms, laundry areas, dining rooms, intake rooms, storage spaces, and staff offices. Air quality problems are rarely evenly distributed. The family room may feel fine while the intake office is stuffy and the laundry corridor smells damp all day.
Document what you notice:
- stale or heavy air
- mold or mildew odor
- lingering chemical smells from cleaners or finishes
- poor bathroom exhaust
- windows that don’t open
- condensation on glass or walls
- systems that run but don’t seem to clear the air
This is especially important in older buildings and repurposed spaces. Open windows may help for a week in spring, but they won’t solve failed exhaust, weak filtration, or moisture trapped behind finishes.
Poor air quality raises stress fast. People get headaches. Staff get irritable by mid-shift. Residents avoid certain rooms without always saying why. In a shelter environment audit, that’s not a side note. That’s operational information.
5. Safe Water Supply
Water issues hide until they don’t. Then they disrupt everything at once.
Check drinking fountains or filling stations, kitchen sinks, bathroom sinks, showers, laundry connections, and hot water reliability. Watch for discoloration, odor, weak pressure, leaks, slow drains, inconsistent temperature, or plumbing that fails in patterns.
A practical way to frame it:
- Can residents drink it?
- Can they wash with it consistently?
- Can staff clean and cook without workarounds?
- Does the system hold up under daily shelter use?
Even small recurring problems chip away at trust. If a shower runs cold every third morning or a sink smells off, residents stop hearing “it’s fine.” They start hearing, “you’ll have to accept less here.”
Water problems also connect to other findings. Leaks become mold. Weak hot water affects sanitation. Plumbing failures can make an otherwise good bathroom unusable. If you’re phasing upgrades, water system concerns usually belong near the front of the line.
6. Sanitary Facilities
Bathrooms and showers carry more emotional weight than many leadership teams expect. People don’t just use these spaces. They judge safety in them.
Walk every restroom, shower room, family toilet room, and hygiene area. Look at fixture condition, privacy, locks, partition gaps, lighting, ventilation, storage hooks or shelves, line of sight from corridors, accessibility, and how easy it is for a parent to help a child without exposing both of them.
A few questions cut through the noise:
- Would you want your own child using this shower?
- Can a resident set down clean clothes without them touching a wet or dirty surface?
- Do people have enough privacy to bathe without feeling watched?
- Are there enough functioning fixtures when the building is full?
Quantity alone won’t save a bad setup. A shelter can have enough toilets and still create long waits, shame, avoidance, or conflict because the rooms feel unsafe or degrading.
This is where a shelter design checklist needs some honesty. Broken latches, harsh lighting, bad odors, and damaged surfaces are not minor. They tell residents to hurry, brace, and get out.
7. Thermal Environment
Temperature shapes behavior more than most reports admit. People avoid rooms that are too hot, crowd around the only cool zone, argue over thermostats, and sleep badly when a room swings cold at 2 a.m.
Check heating and cooling room by room:
- sleeping spaces
- children’s rooms
- bathrooms
- intake spaces
- offices
- dining and common rooms
Note drafts, cold spots, overheating, noisy units, thermostats residents can’t access, and any clear comfort gap between staff spaces and resident spaces. People notice that gap immediately.
In a trauma informed checklist for shelters, thermal comfort is not a luxury line item. If a room feels punishing, people stay keyed up. That’s the real issue.
Sometimes the problem is old equipment. Sometimes it’s poor insulation or bad air distribution. Sometimes it’s layout. We see shelters concentrate the highest-use beds in the hardest-to-condition rooms, then treat the complaints as behavioral. Usually they aren’t.
8. Illumination and Electricity
Lighting can make a safe room feel harsh, or a tired room feel calm again. That’s why this section deserves more than a quick bulb check.
If you can, walk the building at different times of day. Morning glare, dim afternoon corners, and night lighting all tell different stories. Bedrooms, homework zones, play areas, intake rooms, dining spaces, bathrooms, and offices should not all be lit the same way.
Look for:
- shadowed corridors
- overly bright overhead fixtures
- gloomy rooms with no task lighting
- inaccessible outlets
- extension cords doing permanent work
- not enough charging access near beds or family spaces
- power limits in medical or sleeping areas
Natural light helps when you can get it. Taller windows and higher ceilings have been used well in shelter settings for exactly that reason. Dark, damp-feeling rooms wear people down.
The non-obvious part is this: more light is not always better light. Calm, layered lighting often does more for regulation than a ceiling full of bright fixtures. If the room functions but still feels wrong, lighting is often one of the fastest ways to shift it.
9. Food Preparation and Dining Areas

Food spaces need to be assessed as two zones that work together but fail differently.
Back of house, review kitchen or food prep areas for sanitation, durability, ventilation, storage, workflow, accessibility, and staff efficiency. Front of house, study the dining room for seating layout, circulation, acoustics, sightlines, stroller or family use, and whether people can eat without feeling crowded or exposed.
The dining room is rarely just a dining room. In shelters serving women, children, and families, it’s also a waiting space, conversation space, reset space, and routine-setting space.
A few tensions to watch:
- efficient food service versus bottlenecks
- supervision versus overexposure
- durable finishes versus institutional feel
- enough seating versus packed circulation
Some programs rely on commercial kitchen service. Others include client cooking. Your shelter design checklist should reflect the real operating model, not a borrowed template from a different building.
If meals feel loud, rushed, and tense every day, the problem may be the room, not the menu.
10. Fire Safety and Emergency Egress
Don’t leave this to the report in a binder. Walk it.
Trace exit routes from sleeping rooms, family areas, lounges, kitchens, storage rooms, offices, and day-use spaces. Then picture the shelter at its busiest, not at 10 a.m. on a quiet Tuesday. A route that works in theory often fails once cots, strollers, donations, and overflow belongings fill the edges.
Check for:
- blocked or narrowed egress paths
- furniture placement that creates pinch points
- confusing turns or dead-end feeling corridors
- repurposed rooms that changed travel patterns
- exterior gathering areas that don’t actually function
This matters even more in shelters because many residents are new to the building, stressed, caring for children, or moving with disability or injury. In an emergency, unfamiliar space becomes dangerous space fast.
If your building uses multipurpose rooms or temporary bed setups, revisit egress often. Those flexible arrangements have a habit of becoming permanent without anyone fully rechecking the route.
11. Storage for Residents’ Belongings
Storage sounds simple until the lack of it starts running the whole building.
Assess bedside storage, lockers, stroller storage, family storage, clothing distribution, mail areas, and overflow conditions in sleeping rooms or hallways. Look for bags under beds, piles along walls, bins in corridors, or belongings migrating into intake and common spaces.
You’re trying to answer two questions at once:
- Are residents’ belongings secure?
- Is the building relying on makeshift storage to cover an underdesigned system?
Some shelters need more than lockers. Families often need varied storage. Longer-stay residents need better organization. In stronger setups, storage works as a system that may include lockers, client storage rooms, mail distribution, personal refrigerators, or even designated treatment areas for belongings.
Secure storage does more than reduce clutter. It restores control. It tells residents their few possessions won’t be treated as disposable.
How to Run a Trauma-Informed Shelter Environment Audit
Don’t start with clipboards. Start with readiness.
Decide who is involved, what spaces are in scope, and what leadership will actually do with the findings. If no one is prepared to act, the walk-through becomes one more exercise that staff quietly stop trusting.
Bring a mixed team. Operations leaders, facilities staff, frontline staff, and, when appropriate, resident perspective all catch different things. Then organize the work in phases:
Step-by-step audit
- Vision
set the project vision
- Preparation
prepare for the site assessment
- Priority spaces
identify spaces most in need of change
- Design ideas
review design ideas
- Installation and upkeep
plan installation and upkeep
Use the checklist above as your baseline, then add trauma-informed questions about privacy, visual clutter, acoustics, warmth, choice, and whether each room helps people regulate or keeps them guarded.
Document hard. Photos, room-by-room notes, urgency ratings, and short impact statements work better than vague summaries. Ask of each room: what is this space saying to residents every day?
How to Prioritize Changes When Budget, Capacity, and Urgency Collide
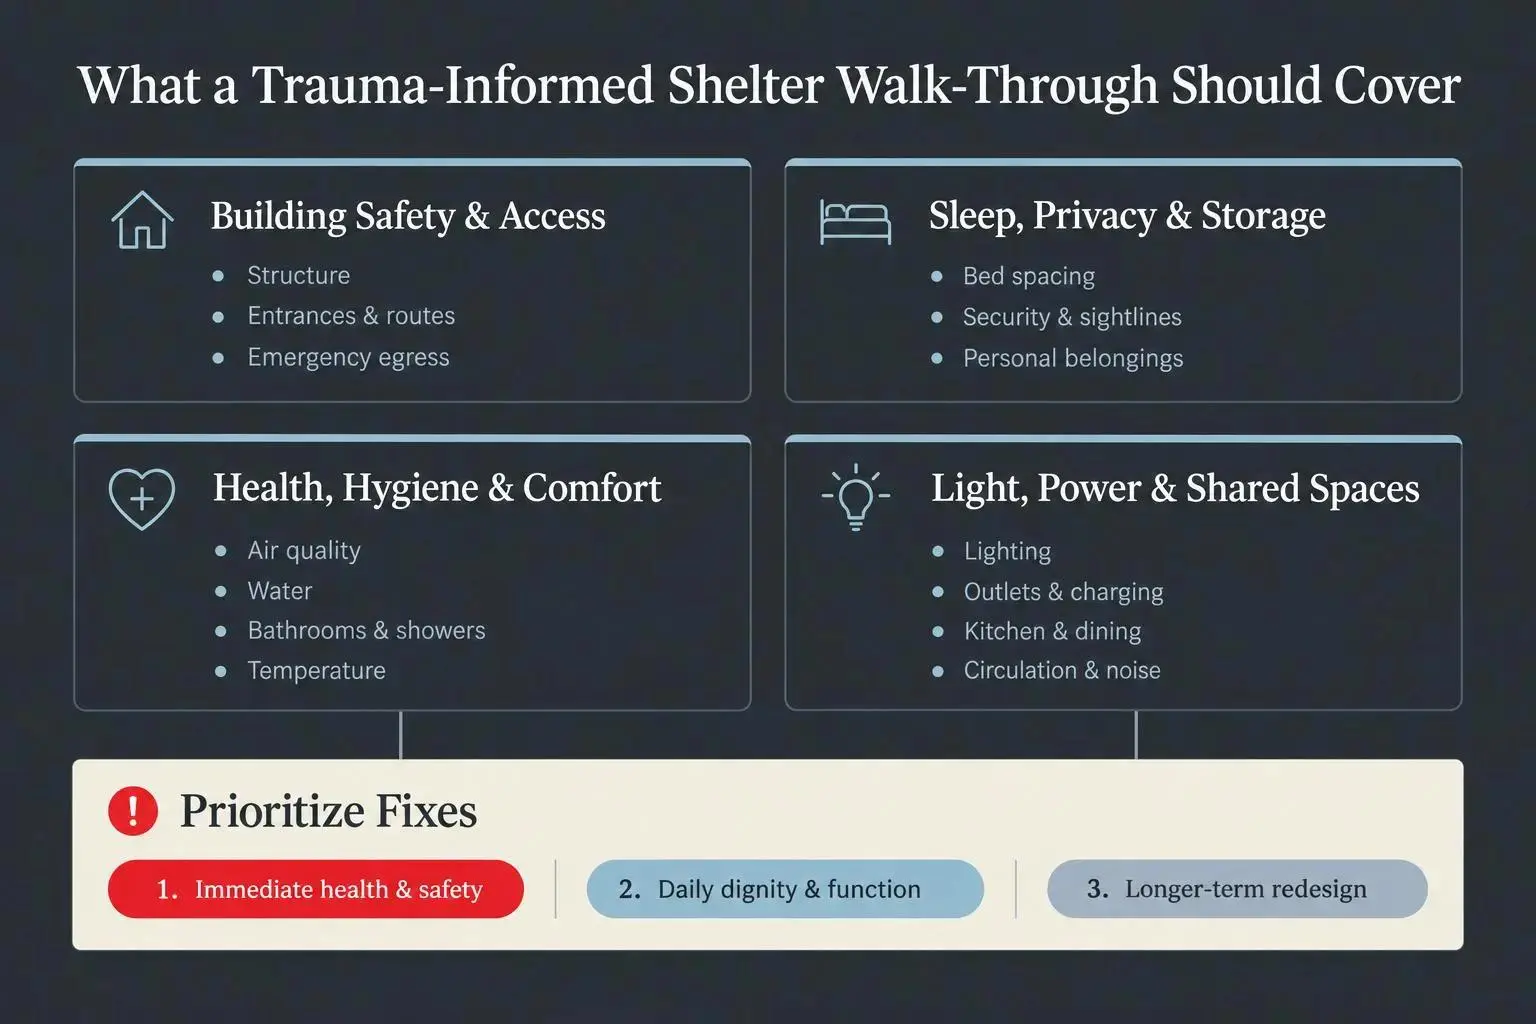
This is where many teams stall. The list gets long, the budget gets short, and everything starts to feel equally urgent. It isn’t.
Sort findings into three buckets:
- immediate health and safety issues
- high-impact dignity and functionality issues
- longer-term design opportunities
Foundational risks go first: structural failures, water issues, sanitation breakdowns, inaccessible routes, unsafe electrical conditions, and compromised egress. After that, move toward the spaces with the highest daily nervous system load. Bedrooms, bathrooms, intake, dining rooms, and family common spaces usually rise quickly.
Use a plain filter:
- how many people use this space
- how often they use it
- how stressful it is now
- how achievable the fix is with current resources
Some problems call for room-level change first. Others are telling you the common areas or circulation need broader work. This is often where our Trauma-Informed Design approach becomes useful, especially when a team can see the problems but needs help turning observations about light, sound, privacy, layout, and furnishings into a realistic plan. If the deepest strain is happening in bedrooms, Room Makeovers may be the right first move. If the building’s shared spaces are dragging down the whole experience, Full Shelter Renovations may fit better.
Durability matters here. So does maintenance. A redesign that looks good for six weeks and falls apart by the second quarter isn’t a win.
Conclusion
A meaningful facility walk through checklist does more than spot defects. It helps you see how structure, access, sleep, air, water, hygiene, temperature, light, food spaces, egress, and storage shape daily safety and dignity.
The best shelter design checklist is practical and human at the same time. It tells you what must be fixed first, what most affects women, children, and families, and where change will bring real relief.
So walk the building. Take notes room by room. Pay attention to what the space is communicating, not just what it technically contains. Then turn that shelter redesign assessment into a phased plan people can actually carry out. That’s how a stressed building starts becoming a healing one.